Many a times you can find situations when you want to include your current mail server with WebsitePanel. Some of us worked one of those prerequisites and properly integrated the particular Exchange Server with WebsitePanel.
Moving further in this practice in this practice considering that a WebsitePanel is already installed in your environment and also you are having an obvious idea in regards to the current version of your Exchange Server and the WebsitePanel. At first, import all your current exchange users and also emails towards the hosting system in the WebsitePanel. Switching ahead in this integration process would likely need following details:
Step 5: Beginning with the Setup
Step 7: If it is your internet-facing server then, specify the external domain name.
Step 8: If Exchange 2003 already exists in your environment, then you will get this option to configure mail flow between these Servers.
Step 9:
Wait while the Setup runs.
Step 10: Than after reboot your server.
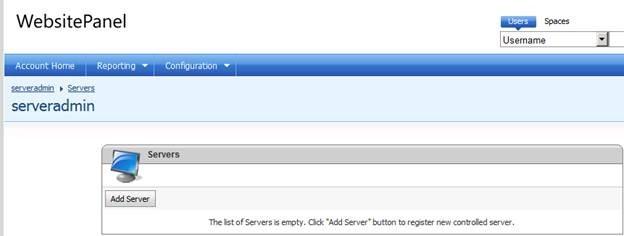
3. In the Home Page, go to Configuration > Servers and click on the Add Server button.
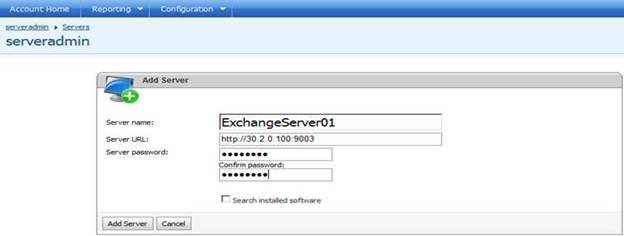
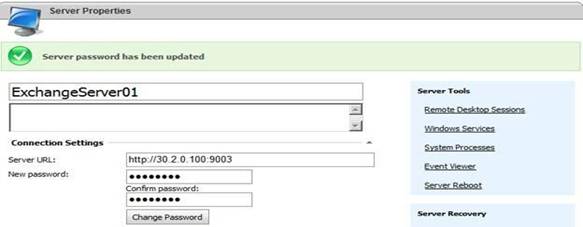
4. Now here provide the required information where the Server URL/Port should be the URL/Port of the Server with Exchange Server 2010 SP2. Check the Search installed software option. Then click Add Server button to create the New Server.
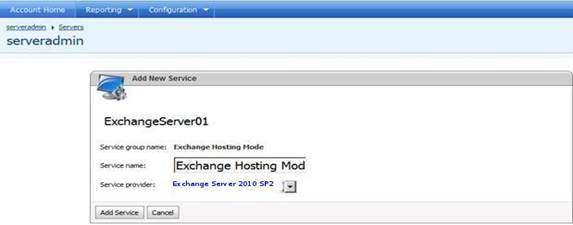
6. On the server properties page, go to Services> Exchange Hosting Mode section and click ADD.
7. Enter a Service Name, and select the Service Provider to Exchange Server 2010 SP2. Click Add Service.
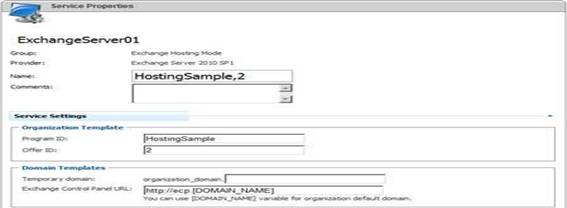
8. In the next step in the Exchange Hosting Mode Service Properties Page, provide aa. Name – HostingSample, 2b. Set an Organization Template and provide a Program ID and an Offer ID. Save Changes.
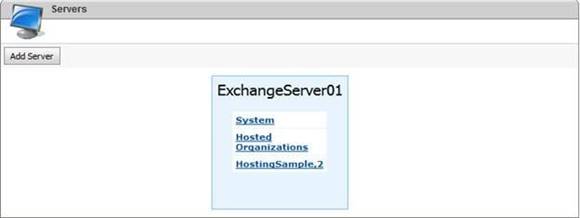
9. Now the Hosting Service will be created on the specified server.
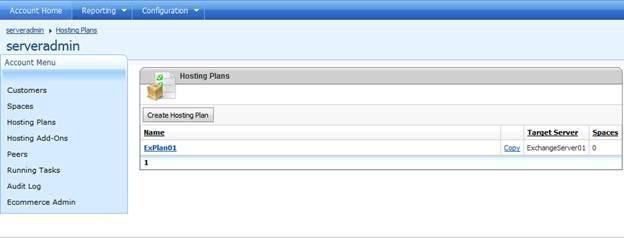
10. Go back to the Home Page, go to Hosting Plans and click on the Create Hosting Plan button.
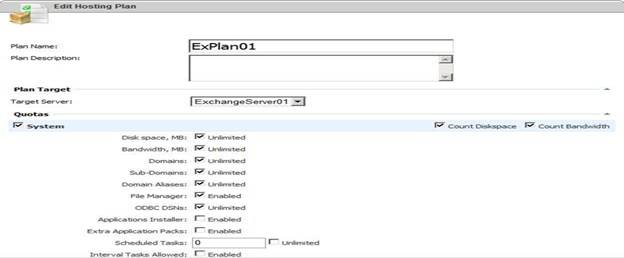
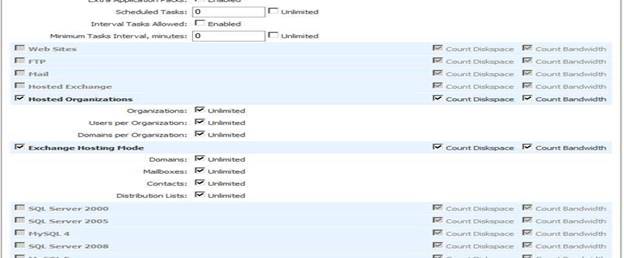
11. On the Edit Hosting Plan page, Name the Plan, and provide the Plan Target. Select the required services and assign the Quotas for them as required. (System, Exchange Hosting Mode)
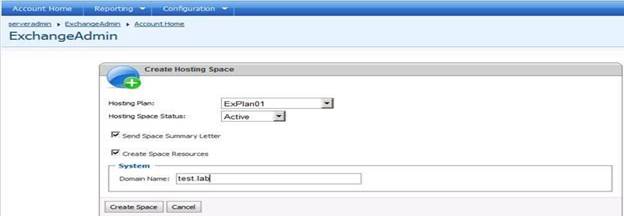
12. Go to Account Menu > Spaces and click on the Create Hosting Spacebutton.
13. On the Create Hosting Space page, provide the required fields as per the requirement.
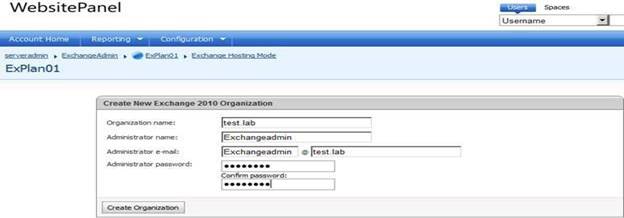
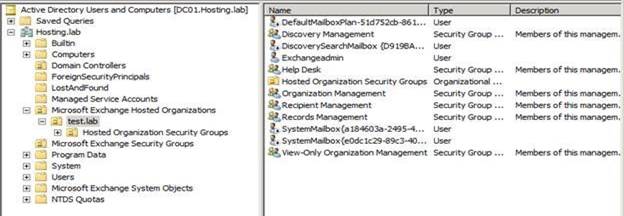
17. Check out the newly created organization inside the ADUC › Microsoft Exchange Hosted Organizations OU.All the organization groups, Users and other Sub OUs will be created under this main OU.
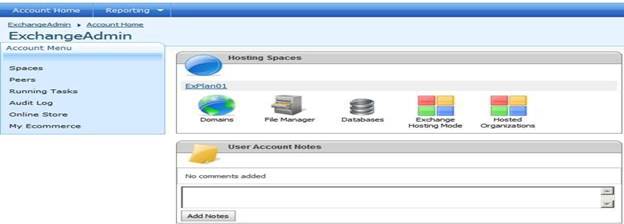
18. The customer can then access this by logging into the WSP Portal using his account and on the Homepage he will be able to view the existing Hosting Space or He can create his own
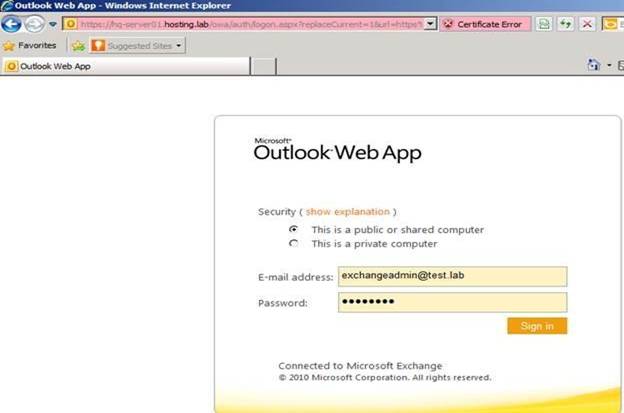
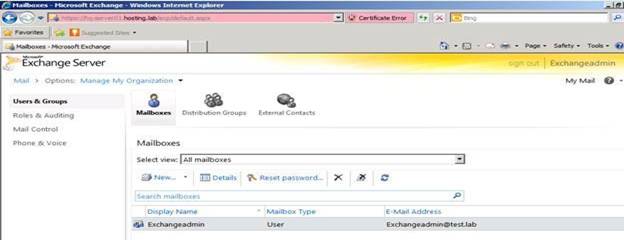
19. To access the mailbox and to modify the Organization Settings and other Exchange Server settings, the administrator can use the OWA or the Outlook 2010 using the administrator account of that specific organization
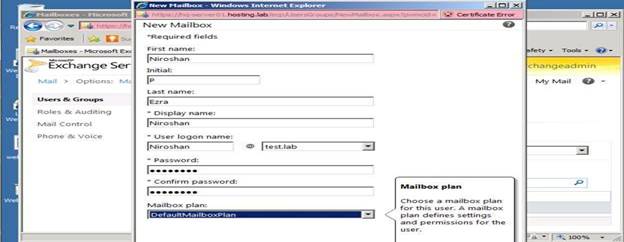
20. Once logged in, the Administrator can Create New mailboxes, Distribution Groups, Add Roles and Auditing Settings, Control Mail and even configure Phone and Voice options

